Scriptorium Coder
Start a coding project in Scriptorium Coder: a folder, a README and a first commit
A project in Scriptorium Coder is a folder on your computer. Make one, write its README as a real document, type the code, run the tests in the terminal under the page and make the first commit, all in the same window.
Most programmers keep two kinds of program open: one for the code, and another for everything written about it, the README, the notes, the report for the client and the slides for the talk. Scriptorium Coder is one program for both. It is Scriptorium, the word processor that saves plain Markdown, with what a project of many files needs: projects that are folders, a code view, a terminal under the page and Git.
This guide makes a small project from nothing: a command-line tool that converts temperatures between Celsius, Fahrenheit and Kelvin, with three tests and a README. It takes about ten minutes.
1. Make the project
Open File ▸ Project and press New code project. Scriptorium Coder asks what it should be called, then where its folder should go. The first time it offers Documents ▸ Scriptorium Coder Projects; after that, the last place you chose.
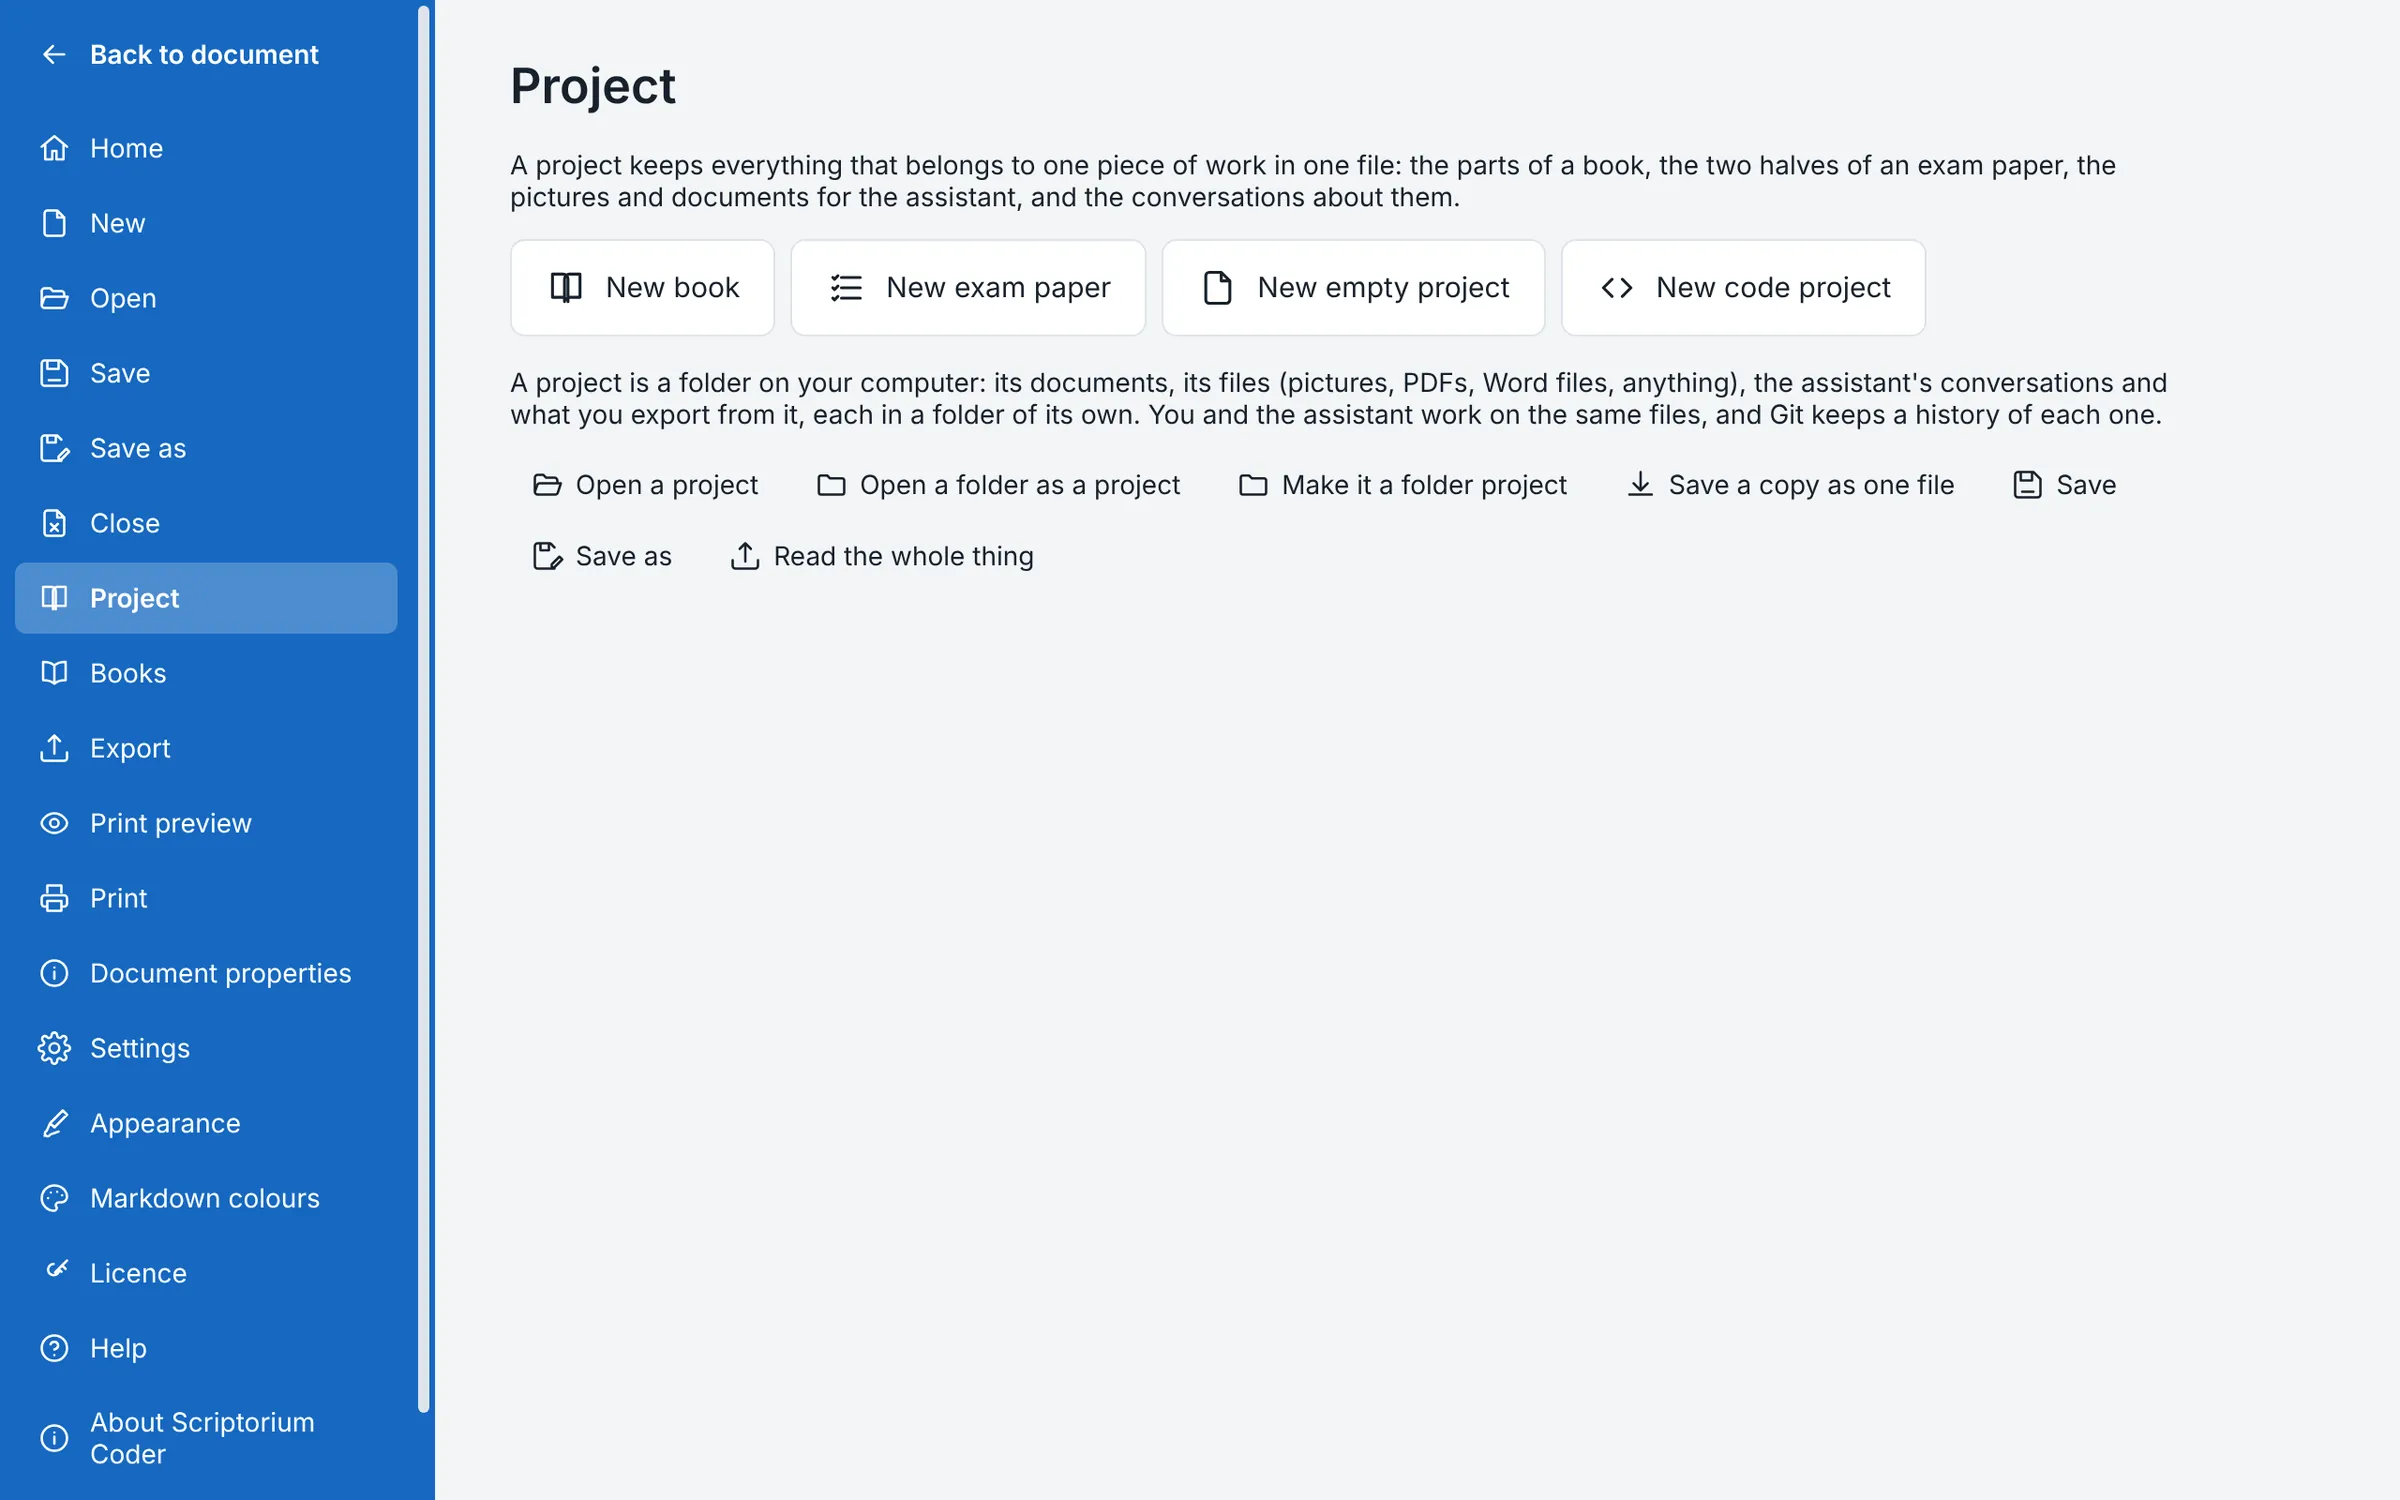
The project is a folder of that name, with what a program usually starts with:
- README.md, with the project's name as its heading;
- src for the code, tests for the tests and docs for everything written about it;
- Conversations, where the assistant's conversations are kept, if you use it;
- .gitignore, which already tells Git to leave out the usual clutter, such as
node_modules, Python's caches and build folders; - and one small file ending in
.coder, which keeps the project's settings. Open it, or the folder, to open the project again.
The folders and files are shown in a tree beside the page. New and Add files are at the foot of the tree; drag files in from your computer, drag one onto a folder to move it, and right-click anything for its menu. A folder you already have opens as a project too, with File ▸ Project ▸ Open a folder as a project.
2. Write the README as a document
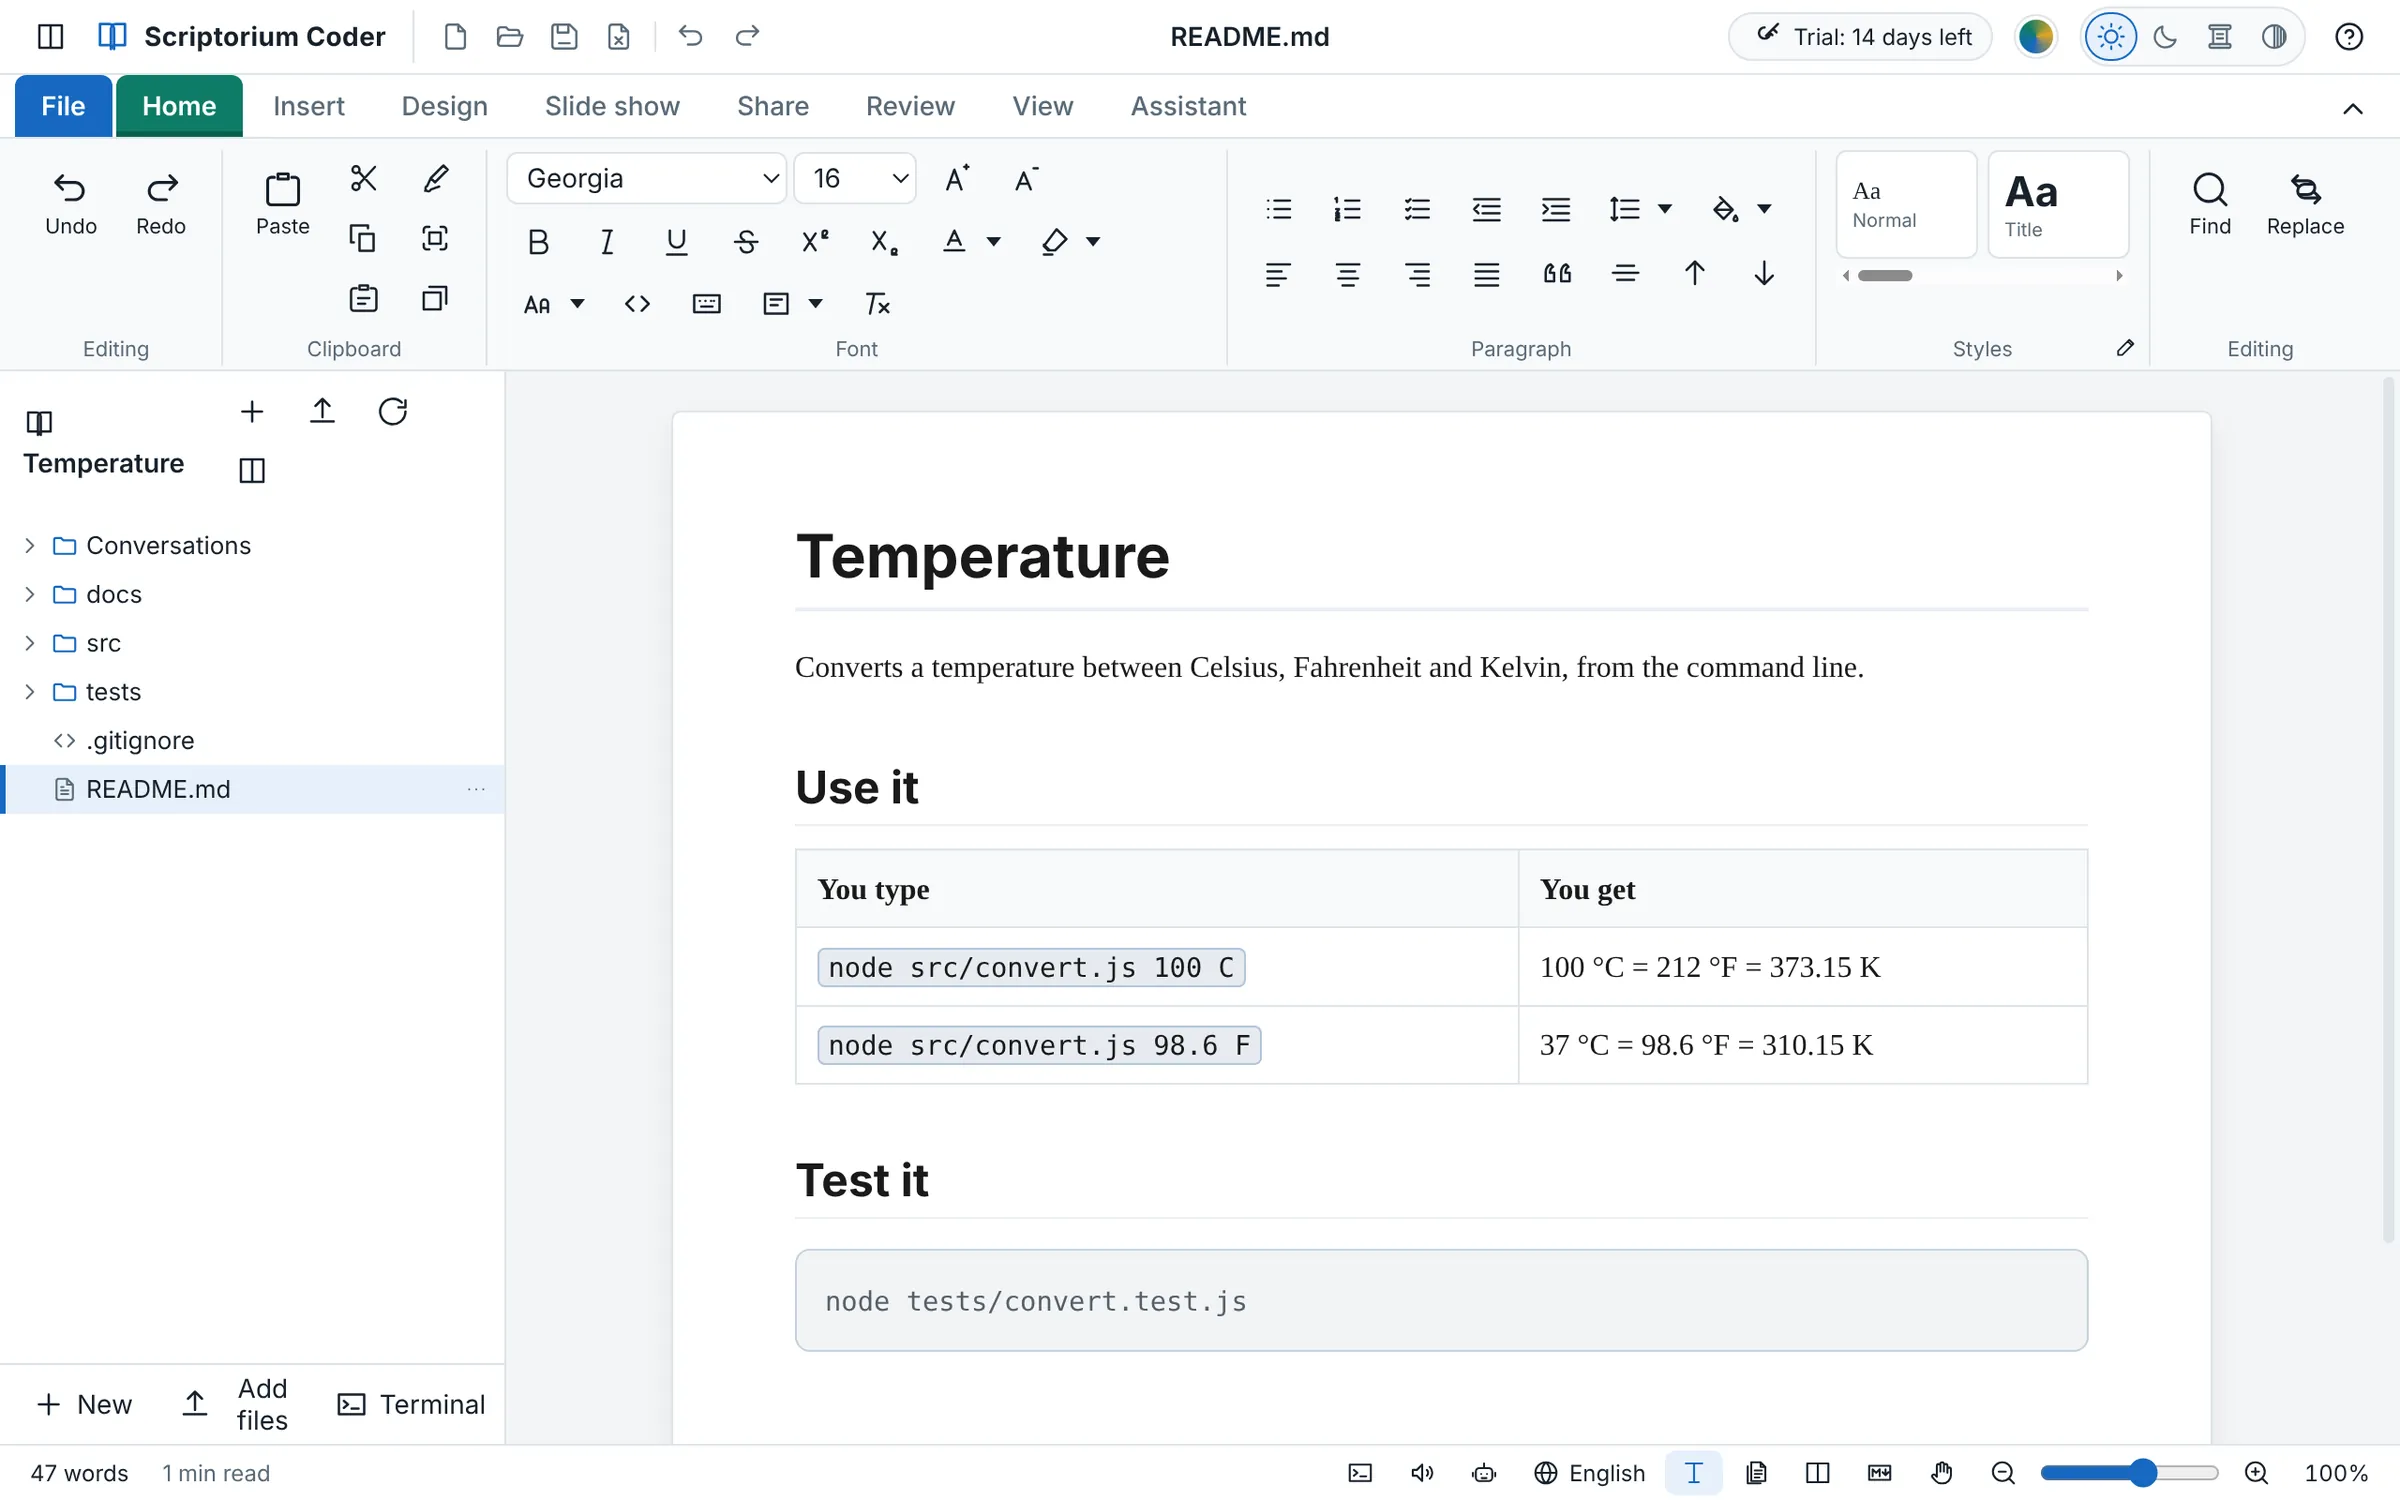
Click README.md in the tree and it opens as a page, not as a page of symbols. Write it with the ribbon you know from Word: a heading, a few lines about what the program does, a table of the commands and what they print, and the commands to run the tests in a code block. The hero picture above shows the result.
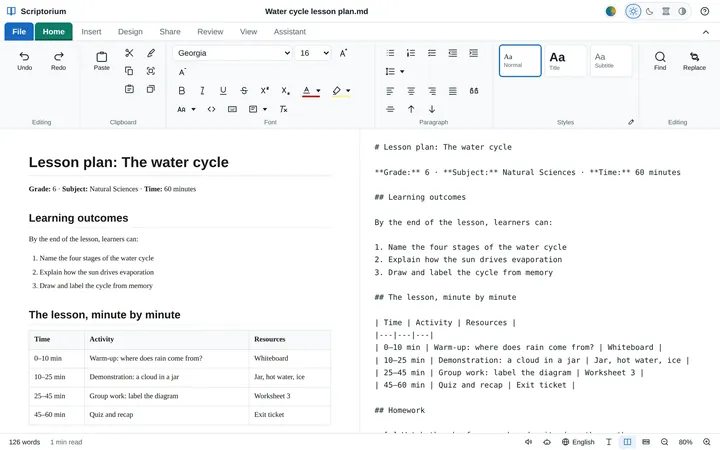
Save it with Ctrl+S, and it is plain Markdown, the kind GitHub, GitLab and every code editor show as it should be. If you want to see the Markdown itself, Side by side on the View tab puts it beside the page.
3. Type the code
Code opens in the code view, in place of the page: coloured, with its lines numbered, and with the blocks folded and unfolded by the small arrows beside the numbers. It knows more than forty languages, from JavaScript and Python to C#, Go, Rust, SQL and PowerShell. Find and replace work as in a document, and Ctrl+S saves the file.
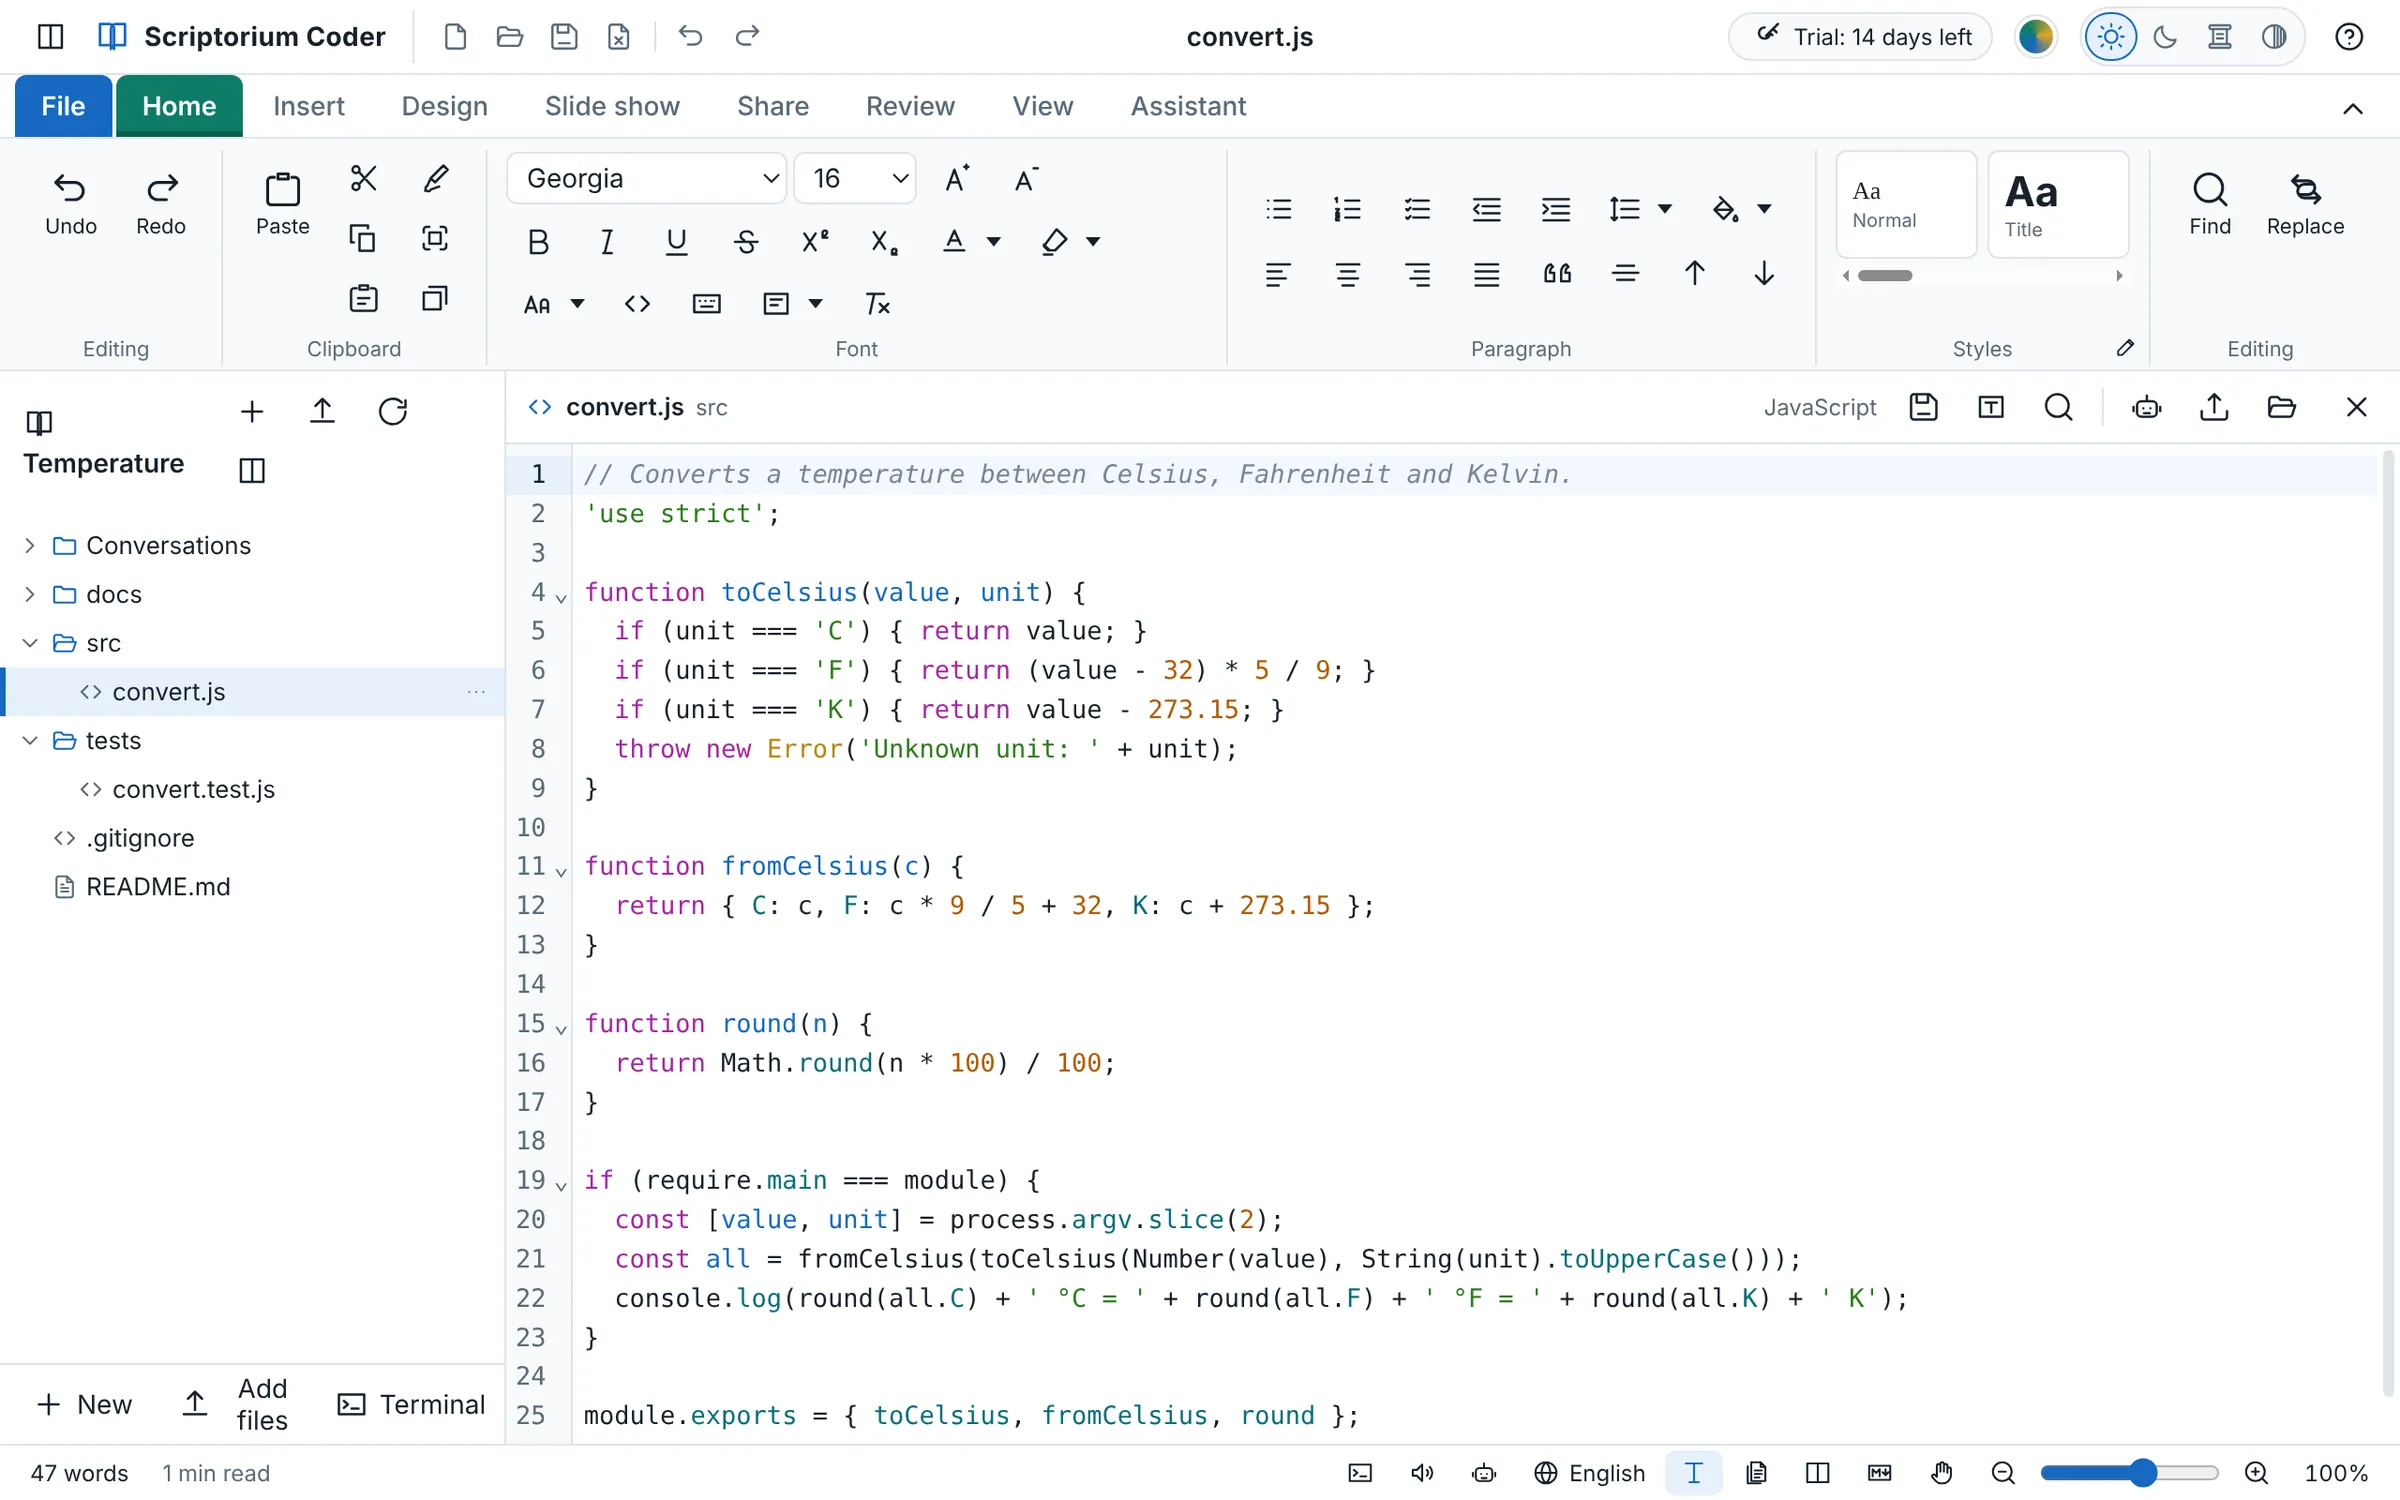
For this project, make convert.js in the src folder and convert.test.js in tests: right-click the folder and choose New file, or press New under the tree. Pictures, PDFs and Word files open in the same place, in the file view, so everything in the project is in one window.
4. Run it in the terminal
Press Ctrl+`, or Terminal under the tree, and a terminal opens under the page, already in the project's folder. Type a command and press Enter: here, node tests/convert.test.js runs the three tests, and node src/convert.js 100 C runs the program.
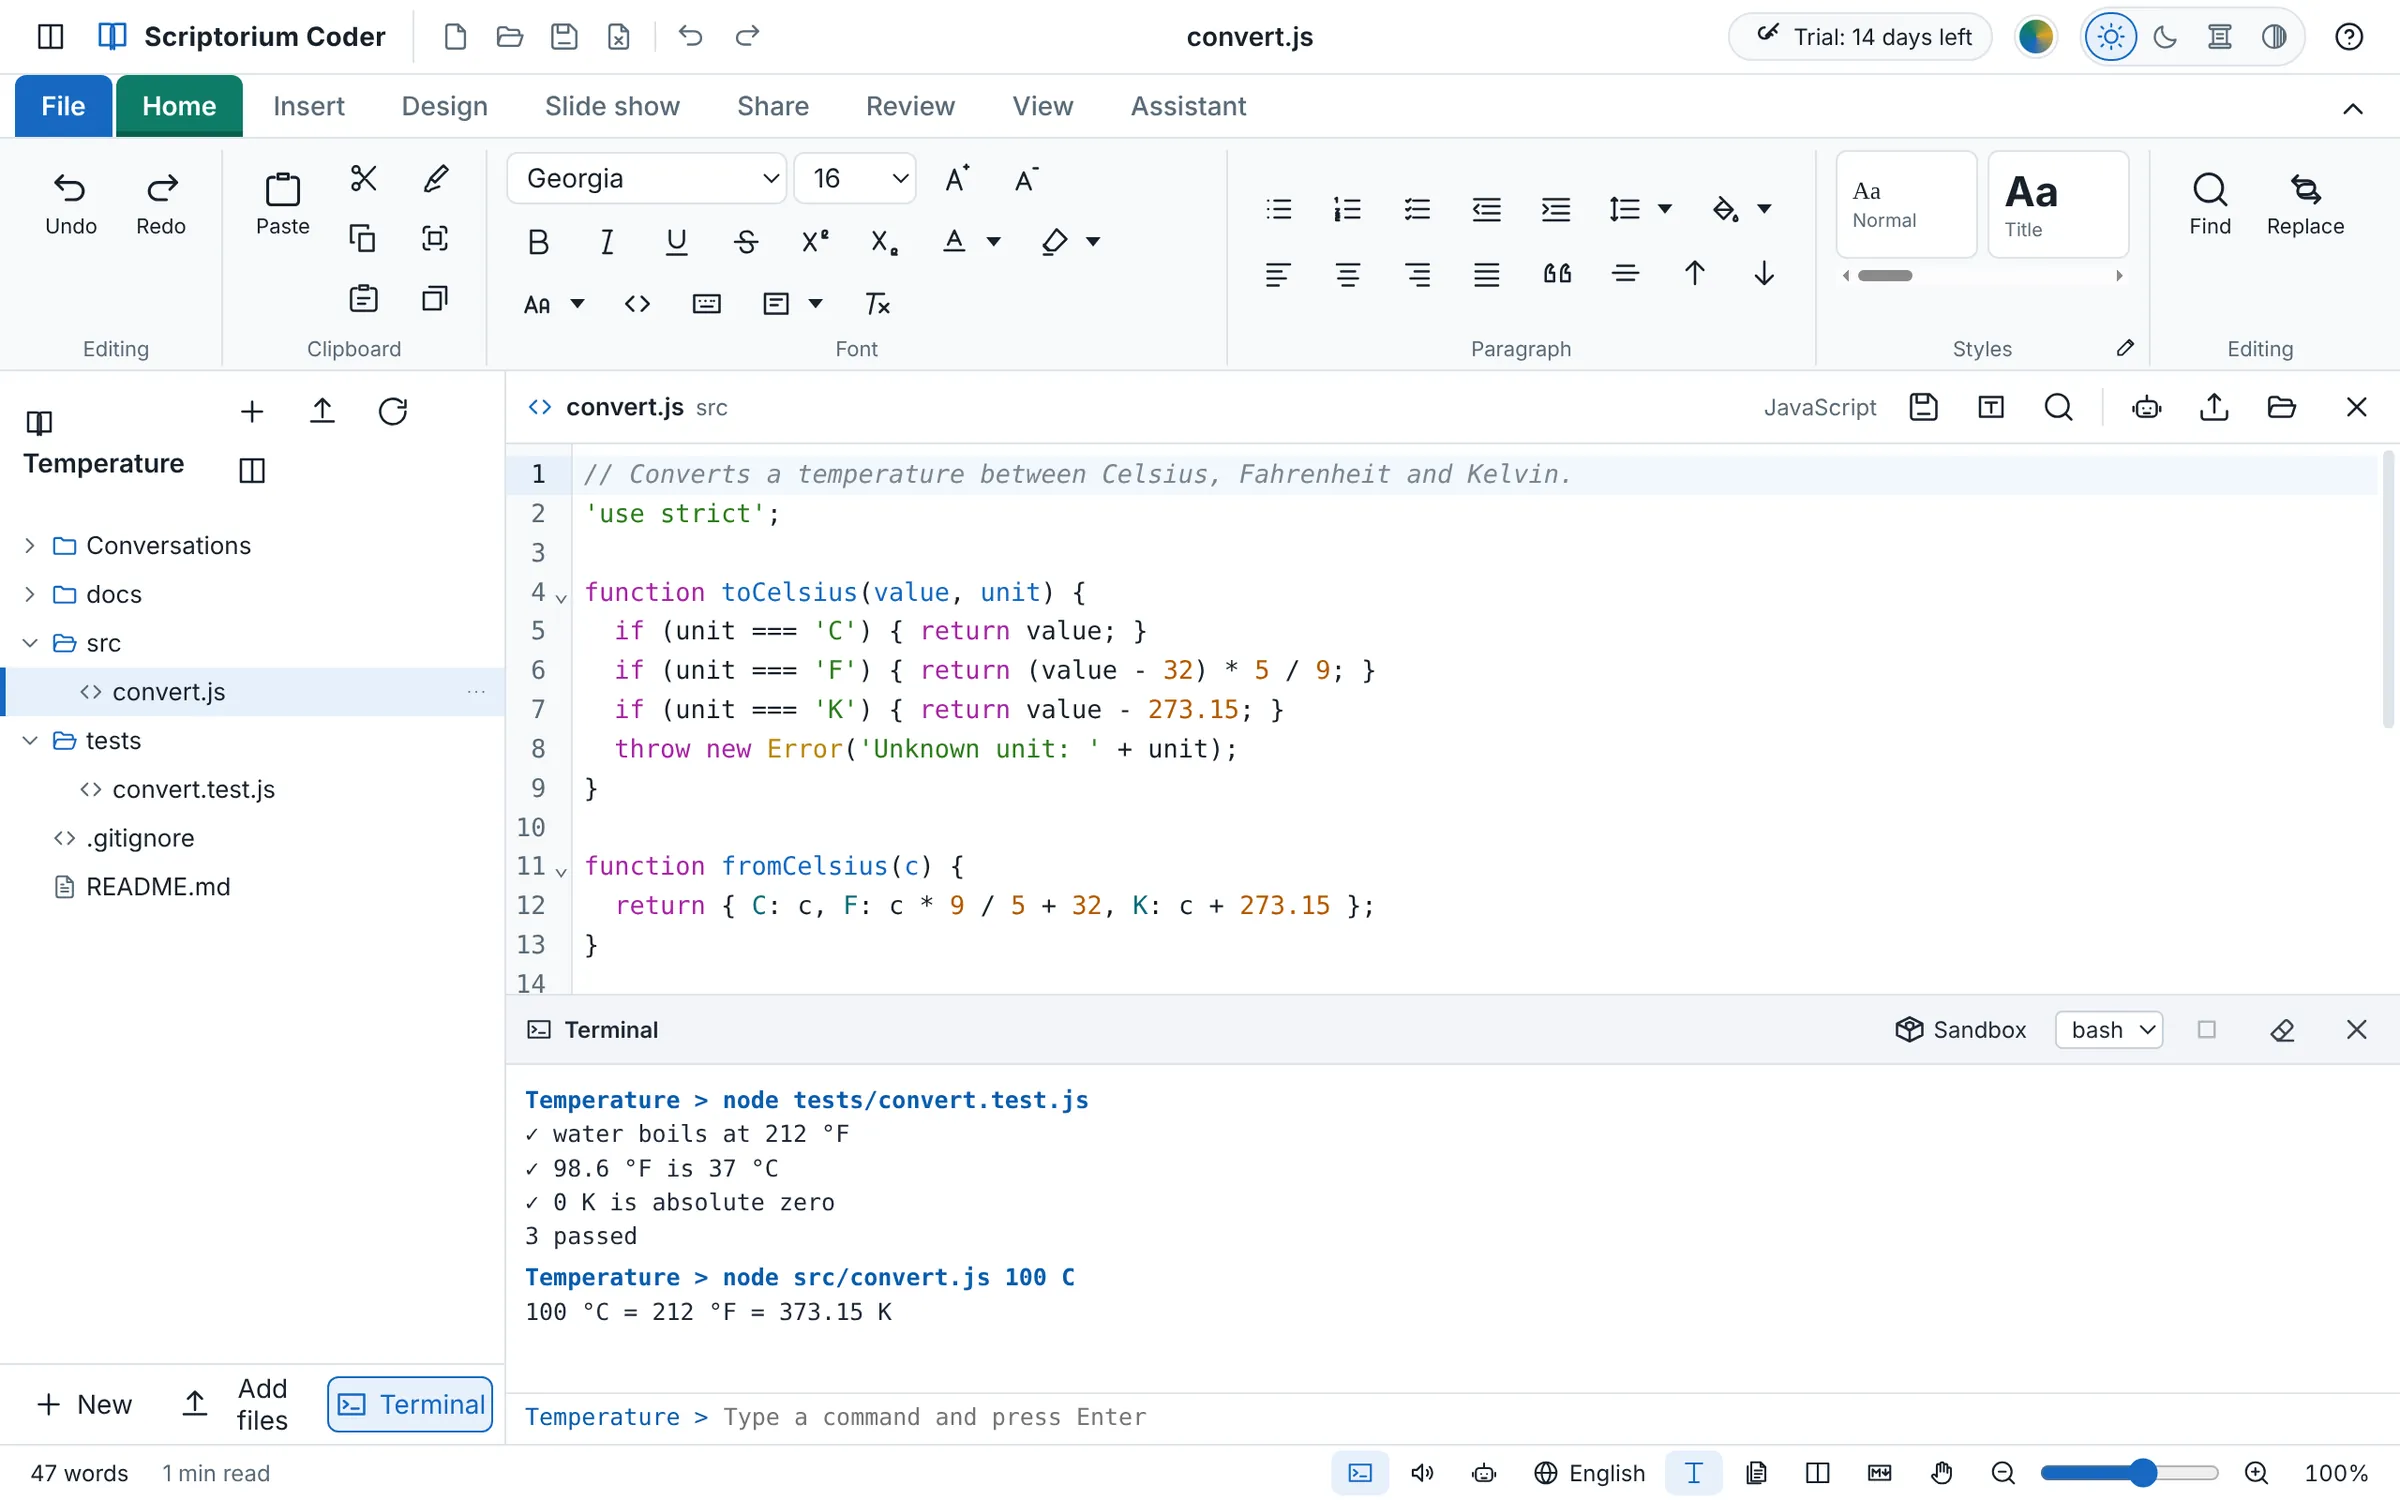
- On Windows, choose Command Prompt, Windows PowerShell, or PowerShell 7 and Git Bash if they are installed. On a Mac or Linux, it is your own shell.
cdchanges the folder the next command runs in, as you would expect.- Ctrl+C stops a command that runs for too long, and the eraser clears what is shown.
- The terminal follows the theme you choose, light, dark, sepia or high contrast, with every colour easy to read.
The Sandbox button on the terminal turns on a walled-off place for running code: commands, yours and the assistant's, run in the project's Sandbox folder, keep their home, temporary files and caches there, and may use only the memory and the room on the disk you give them.
5. Make it a Git repository
On the Share tab, the Git group has Commit, Pull, Push, History and the Git box. The first time, Commit opens the Git box, because the folder is not a repository yet. Press Make its folder a repository, and say yes.
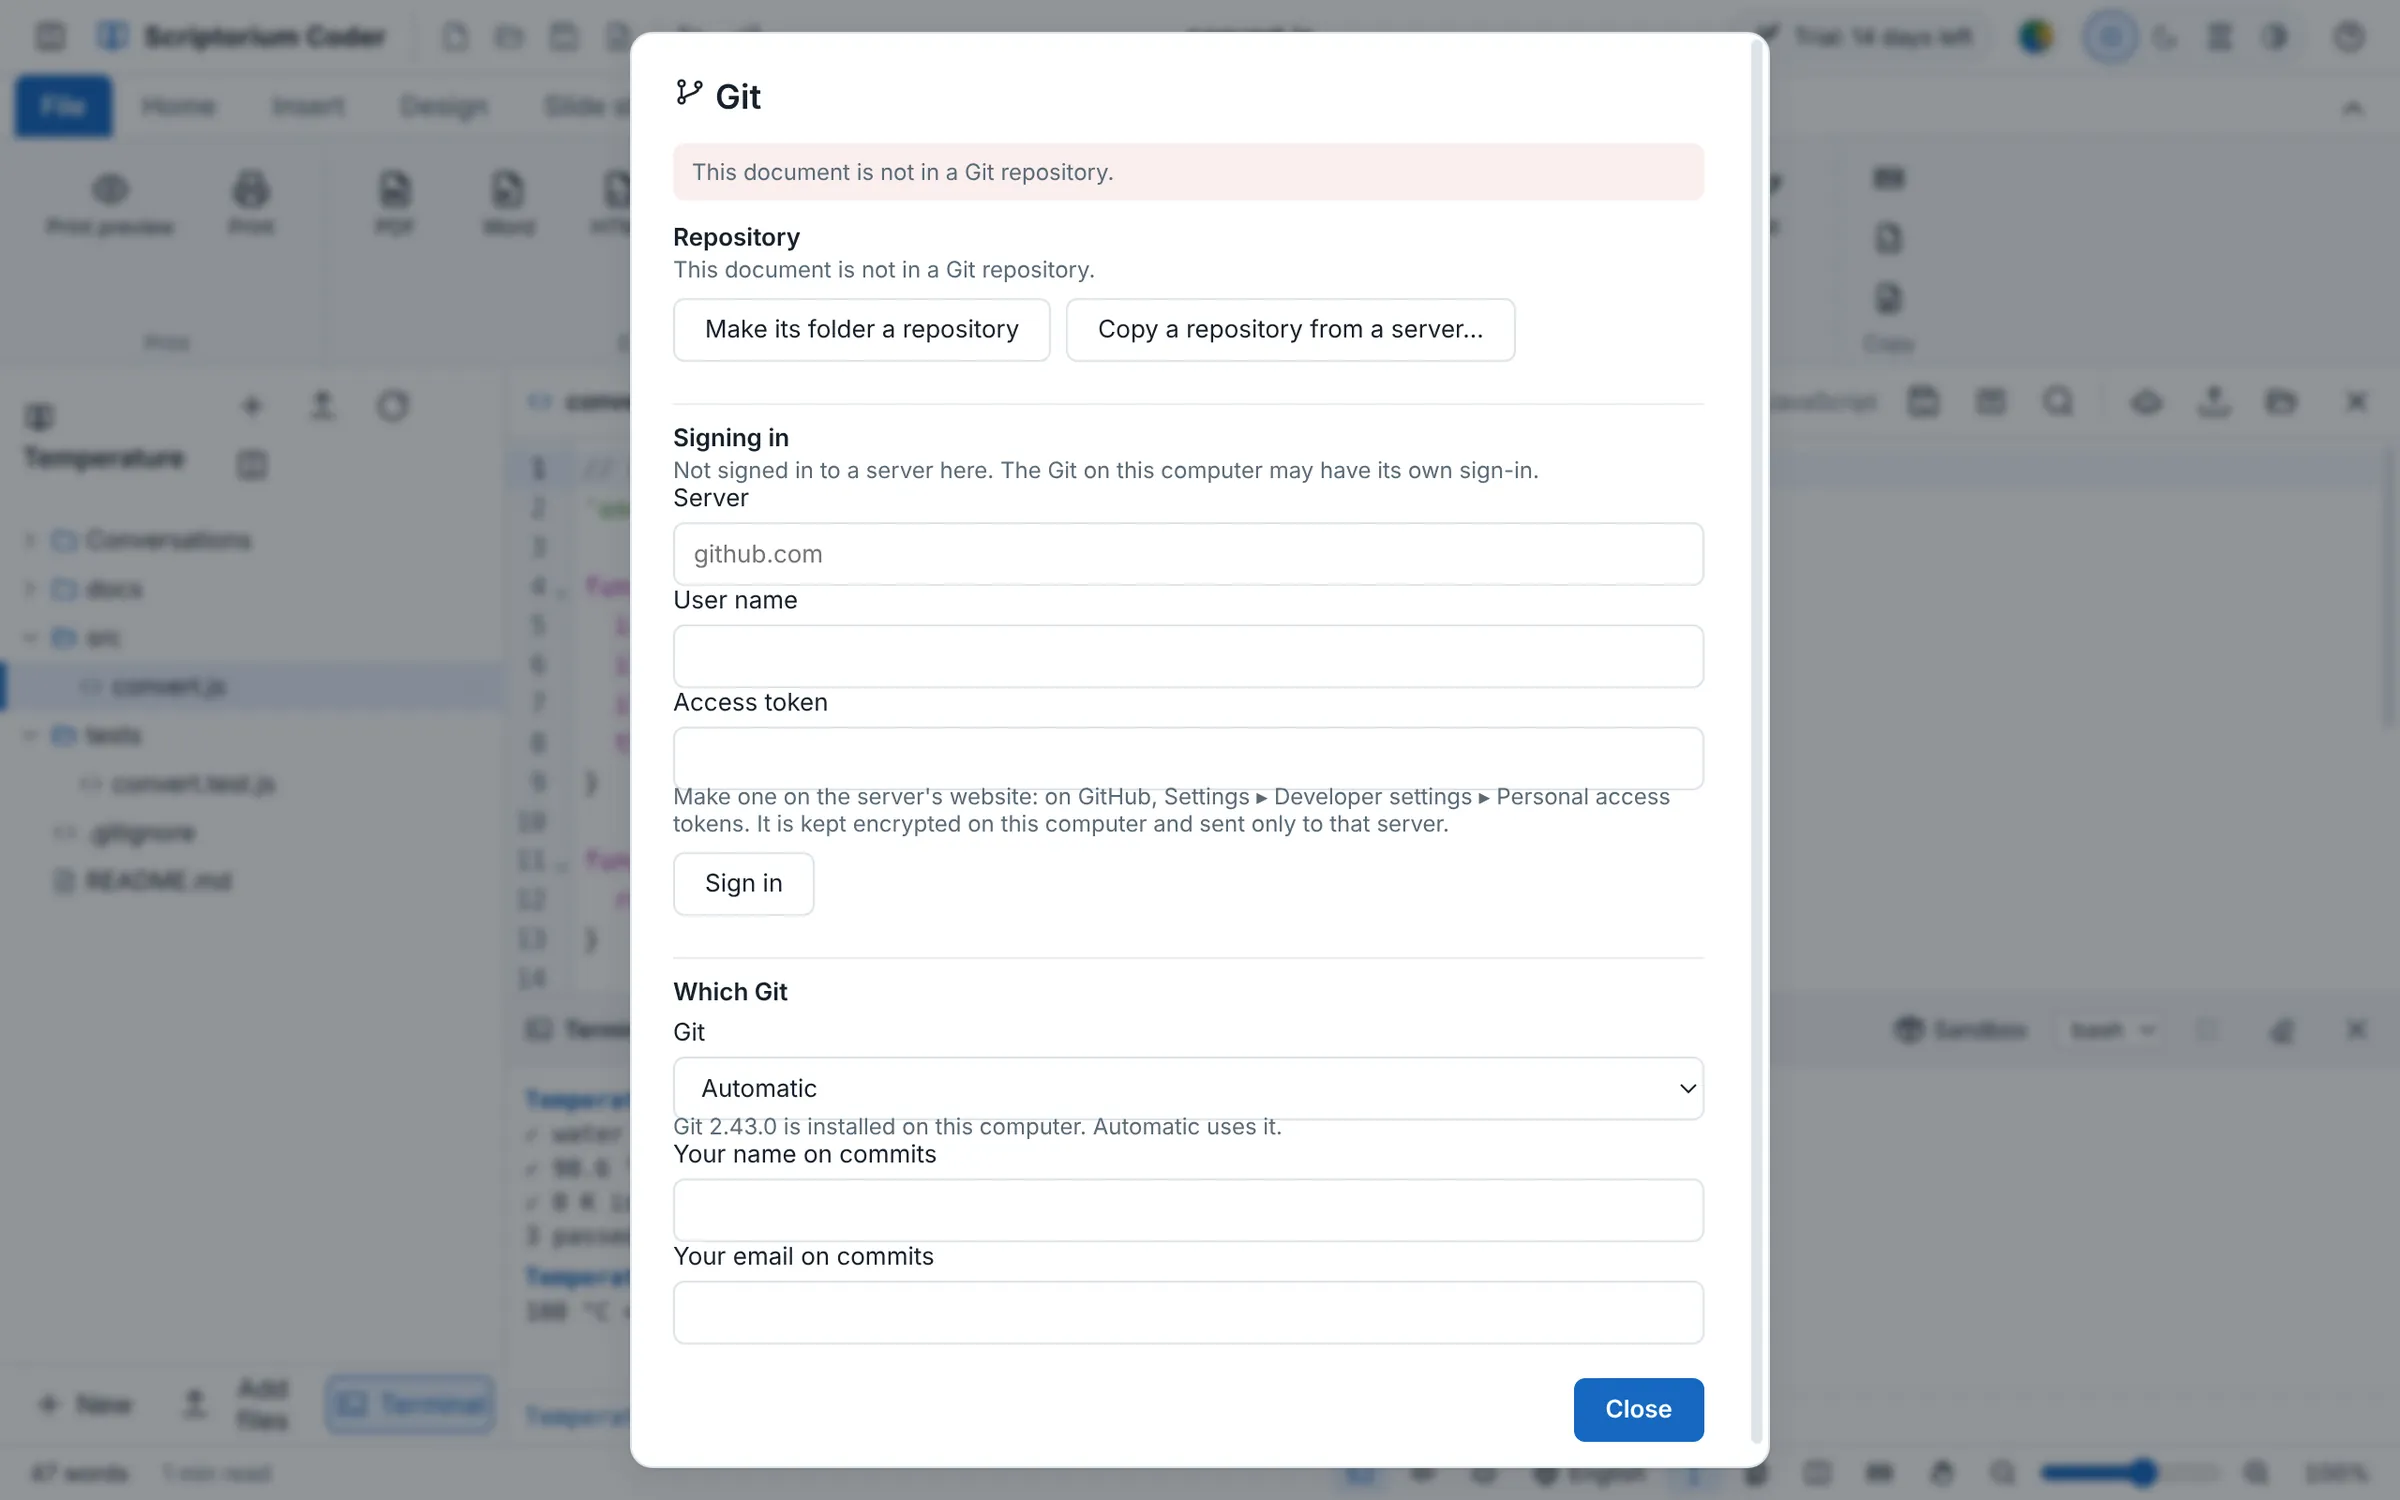
In the same box, fill in Your name on commits and Your email on commits. Which Git is best left on Automatic: it uses the Git installed on your computer if there is one, and the Git that comes with Scriptorium Coder if there is not, so you do not have to install anything.
To start from a project that is already on a server, press Copy a repository from a server… instead, and give its address.
6. The first commit
Press Commit again. The box says which branch you are on and in which folder, and lists every file that changed, each ticked, with a word to say whether it is new, changed or deleted. Untick any you want to leave for later, say in a few words what changed, and press Commit.
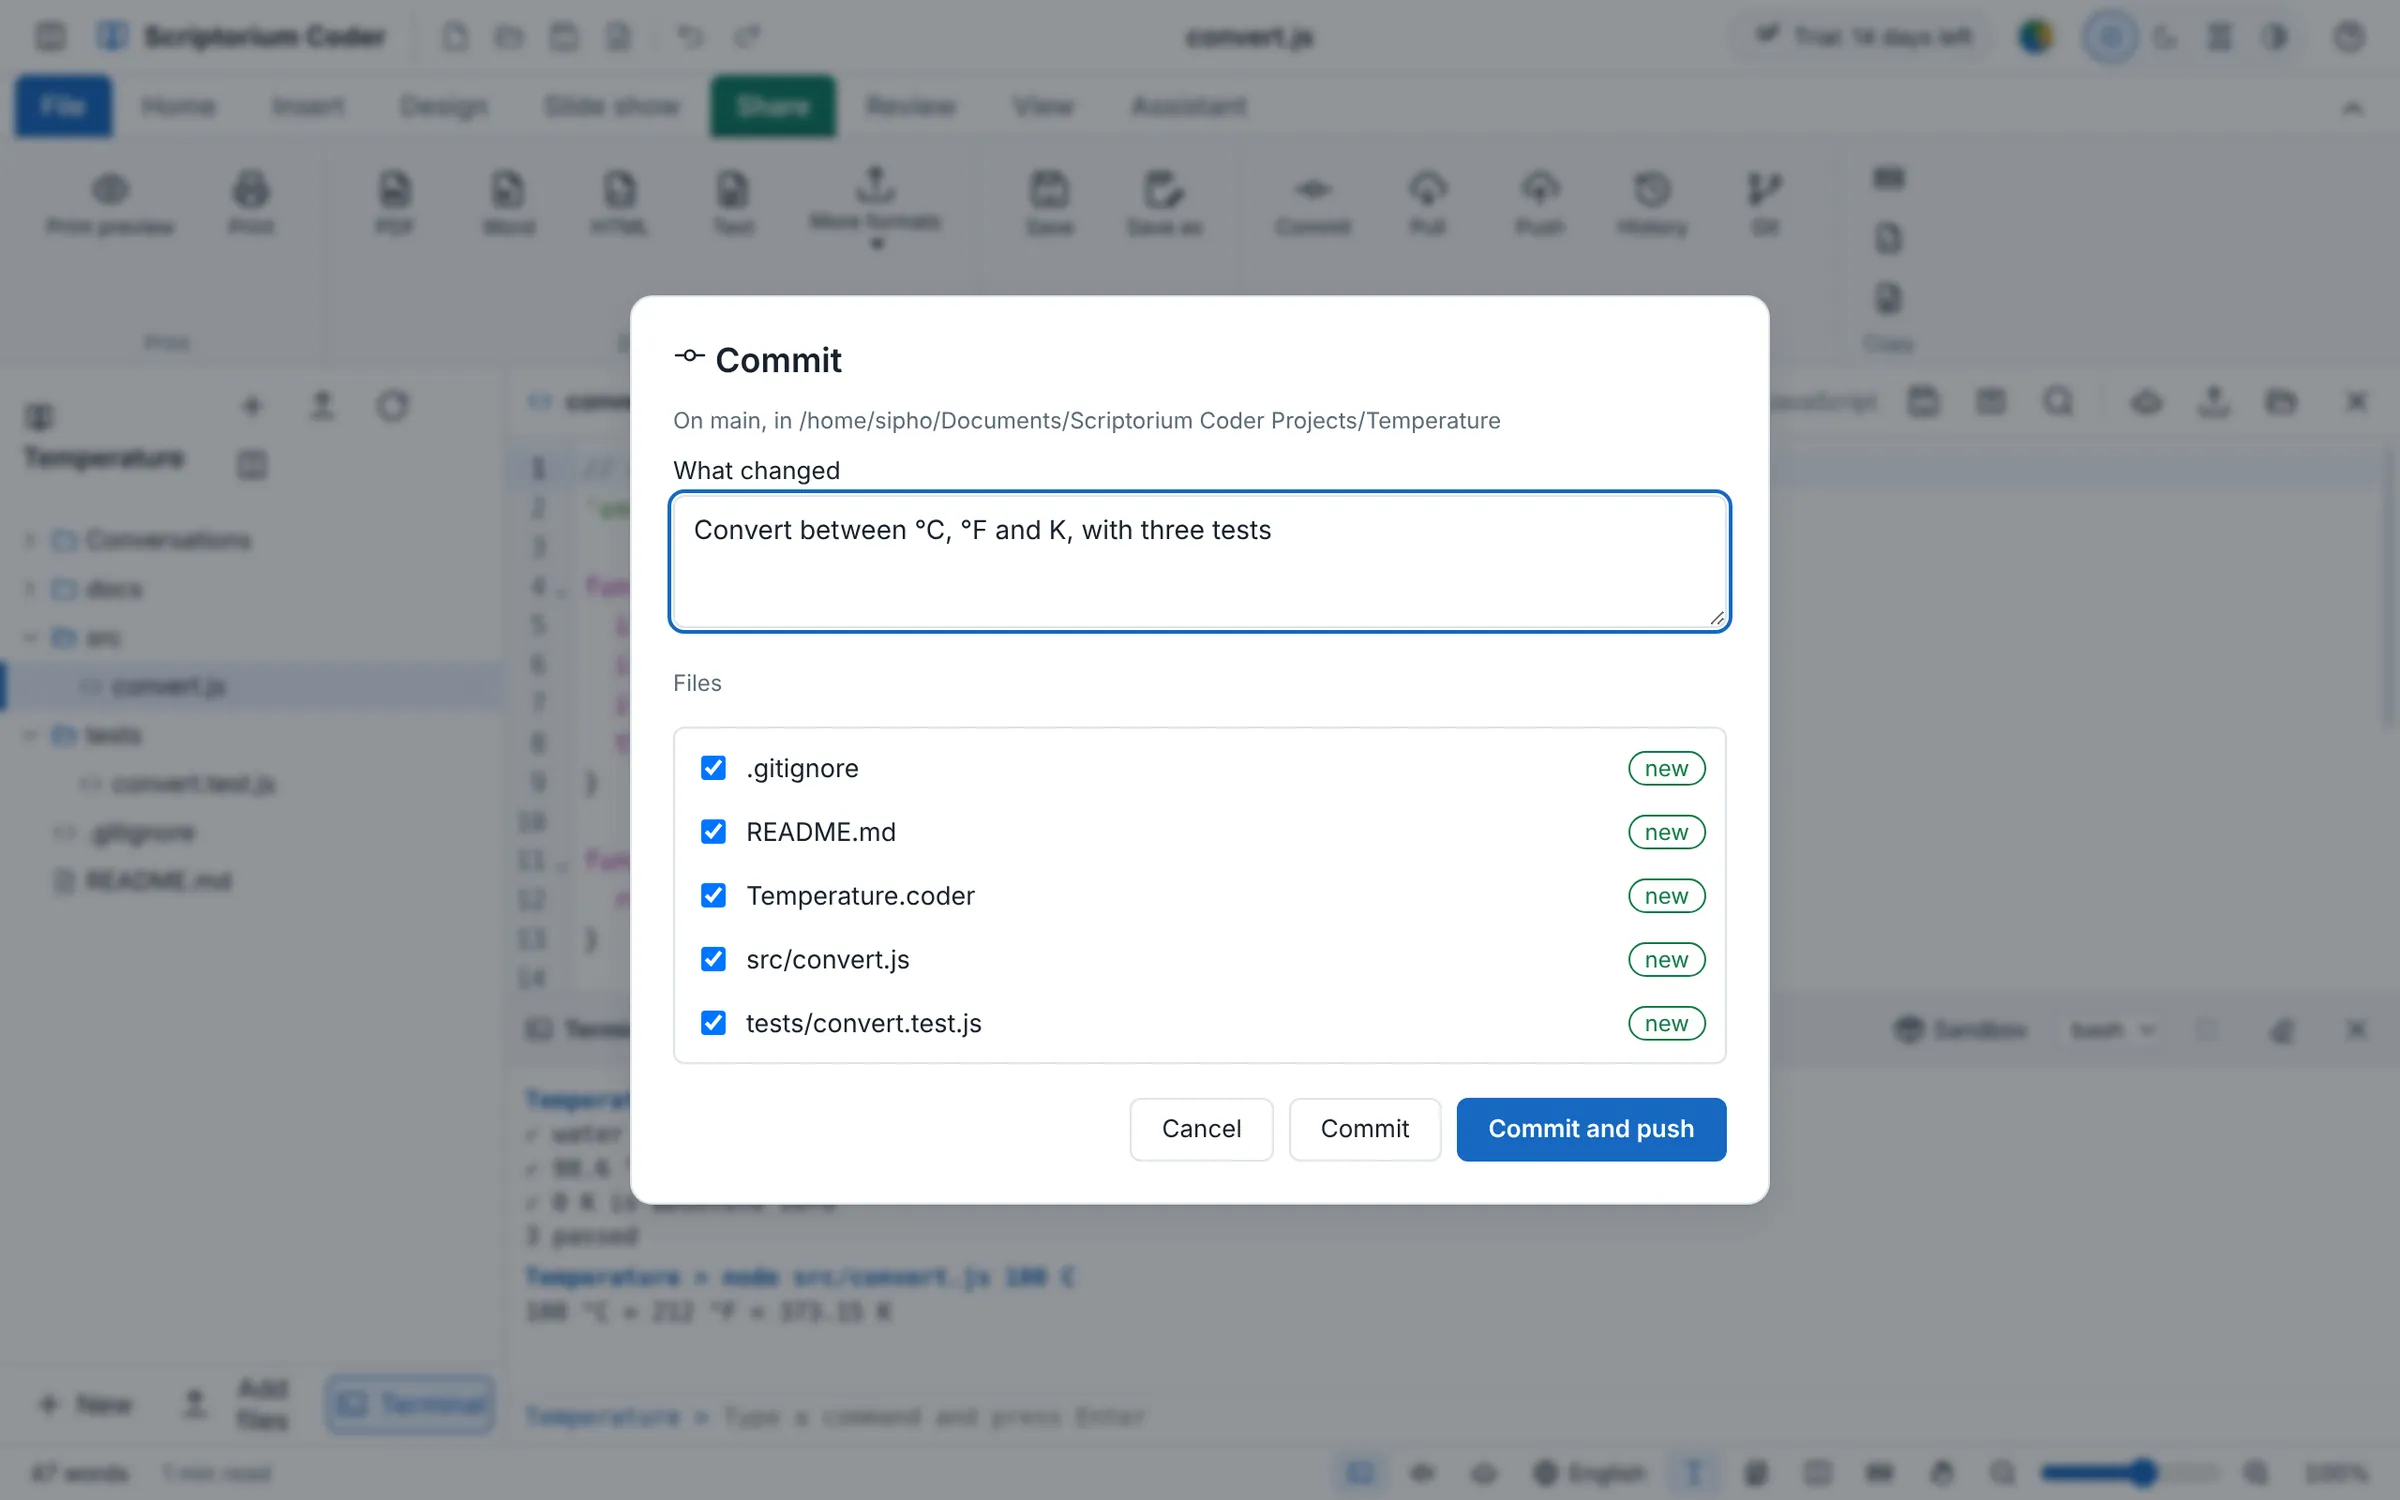
Once the project is on a server, Commit and push does both at once.
7. See what you committed
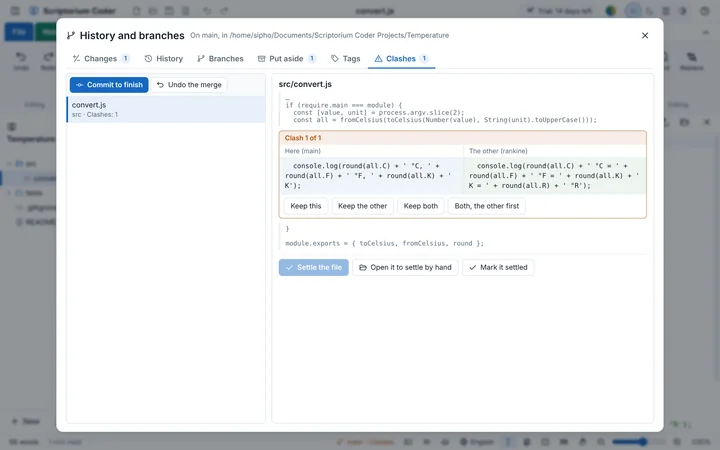
Press History on the Share tab, or the branch's name at the bottom of the window, and History and branches opens. Choose a commit to see who made it and when, its number, every file it changed and every line, then bring a version back, start a branch from it or give it a tag.
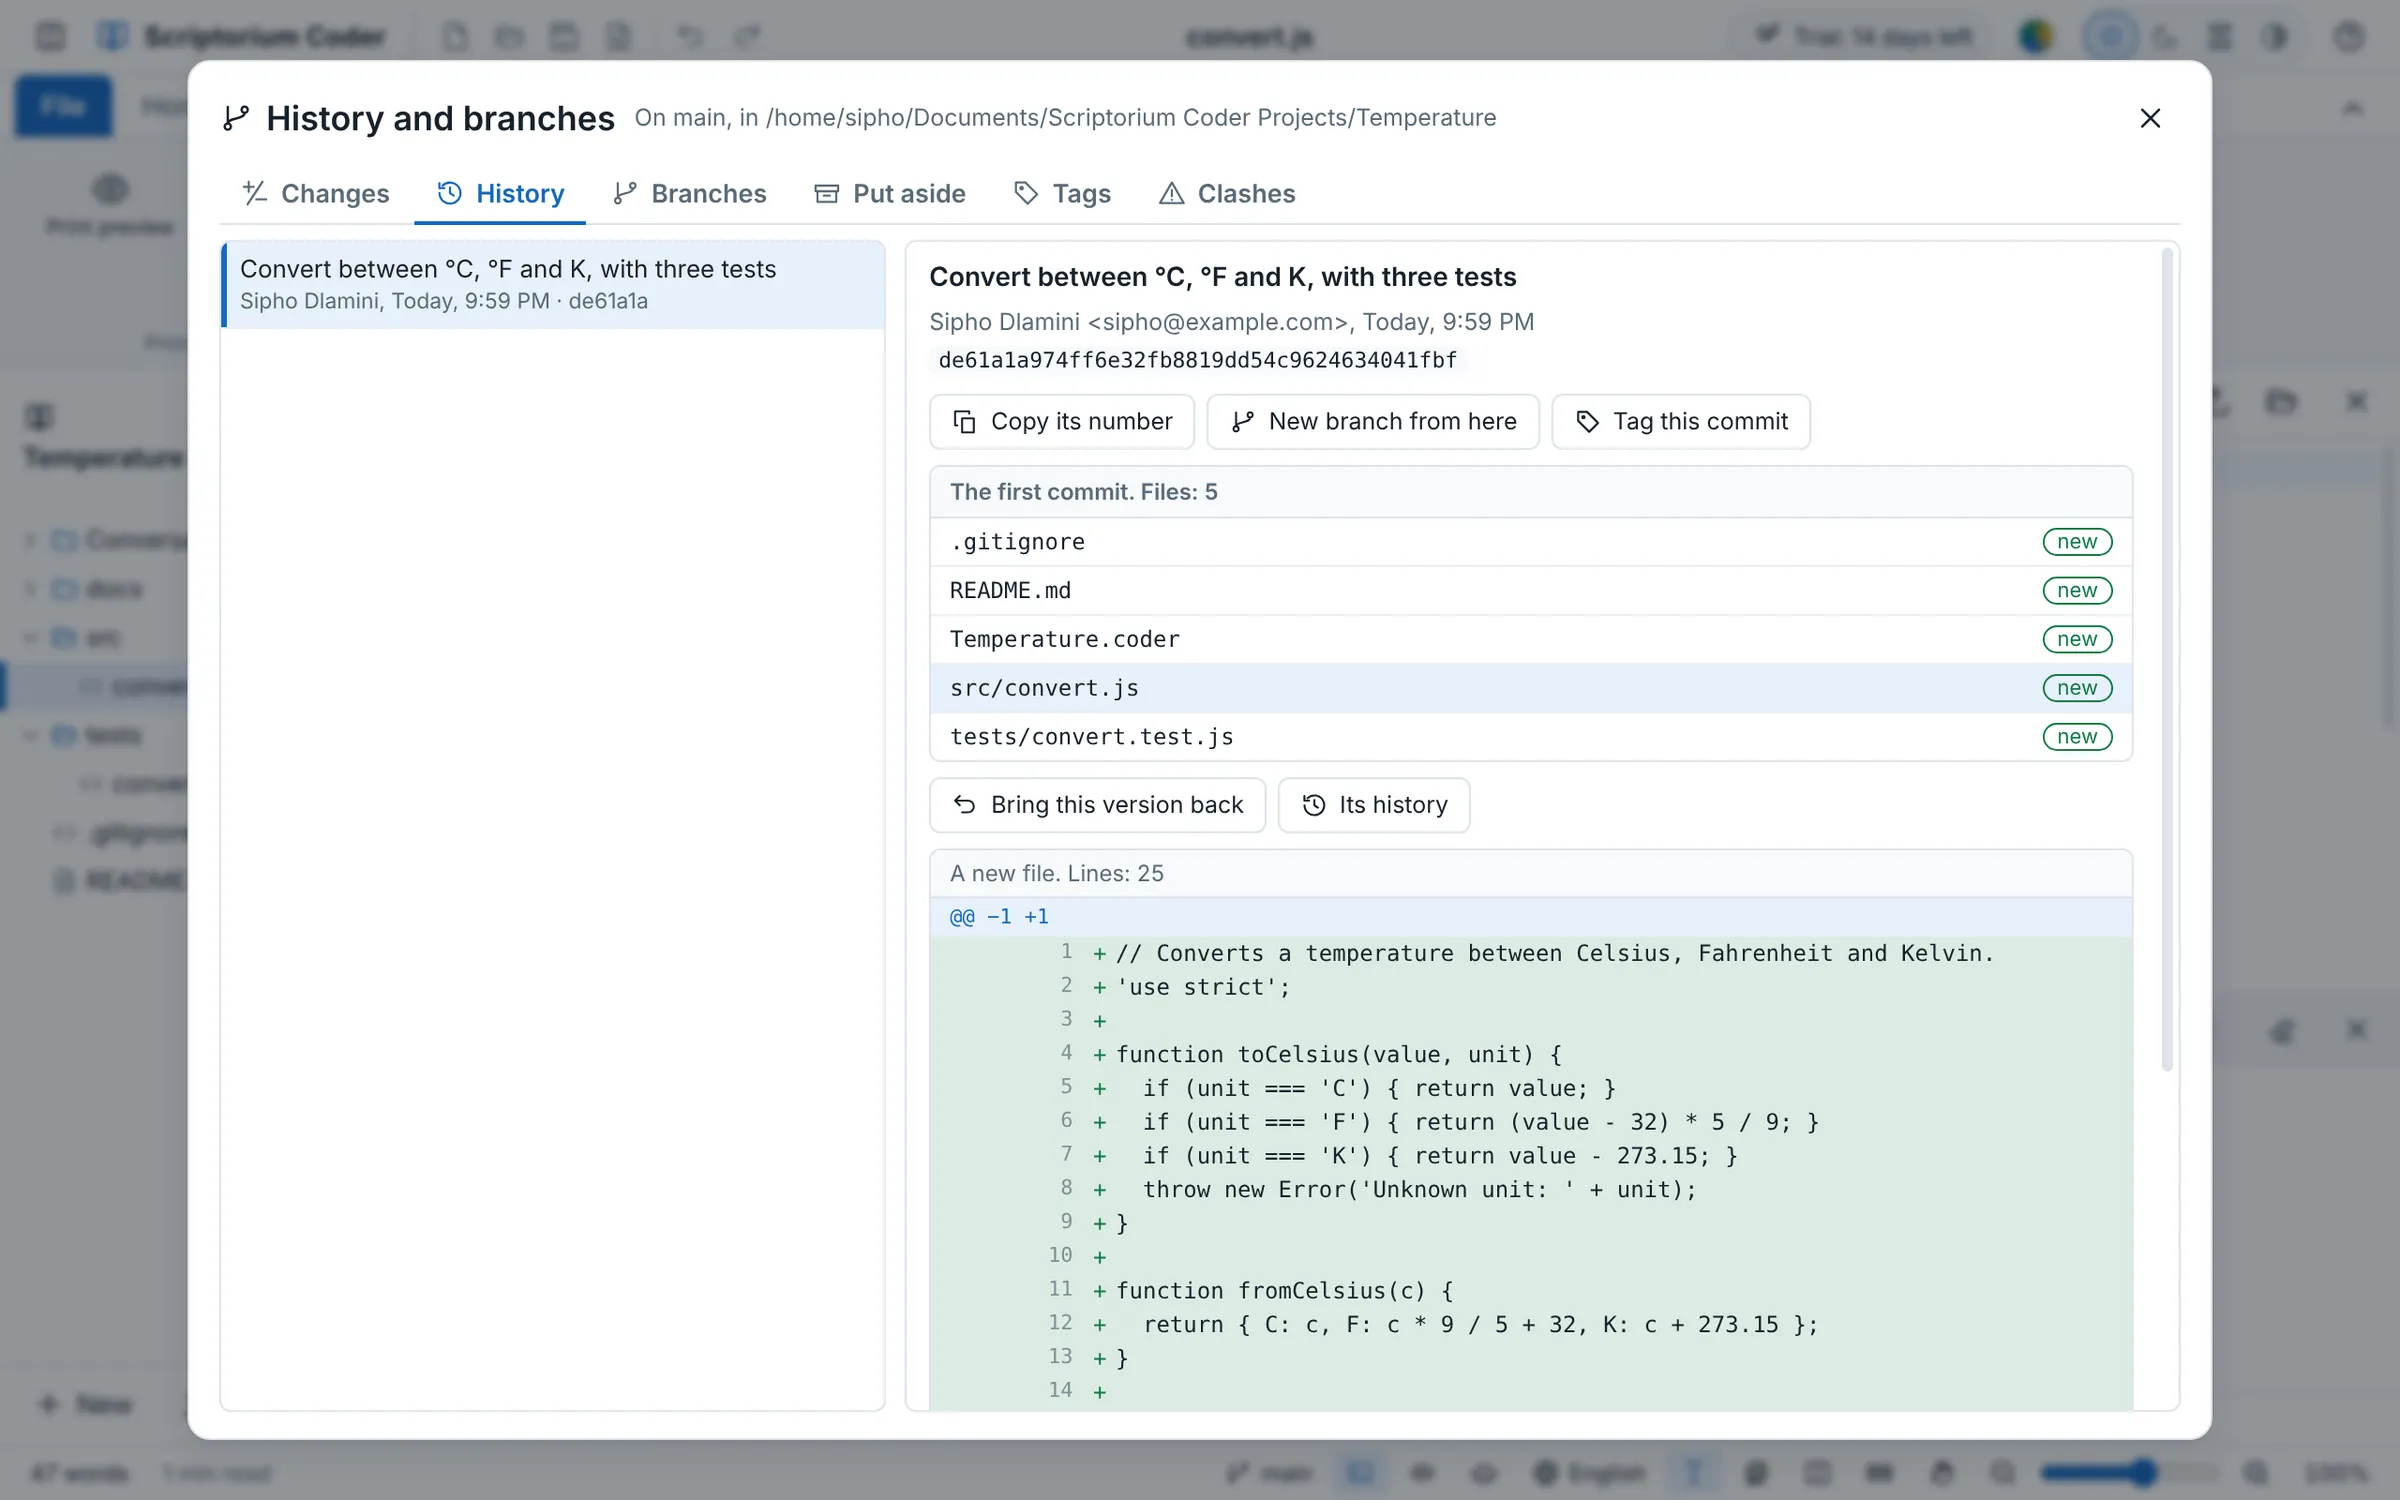
The other tabs, Changes, Branches, Put aside, Tags and Clashes, are for the rest of a project's life. Git in plain words goes through each of them.
Put it on GitHub
Make an empty repository on GitHub, GitLab or your own server first. Then, in the Git box:
- Under Signing in, give the server (such as
github.com), your user name and an access token, and press Sign in. On GitHub you make a token under Settings ▸ Developer settings ▸ Personal access tokens. It is kept encrypted on your computer and sent only to that server. - Under Server, paste the repository's address as the server shows it, and press Save the address.
- Press Push on the Share tab. From then on, Commit and push sends each commit as you make it, and Pull brings in what others have pushed.
What next
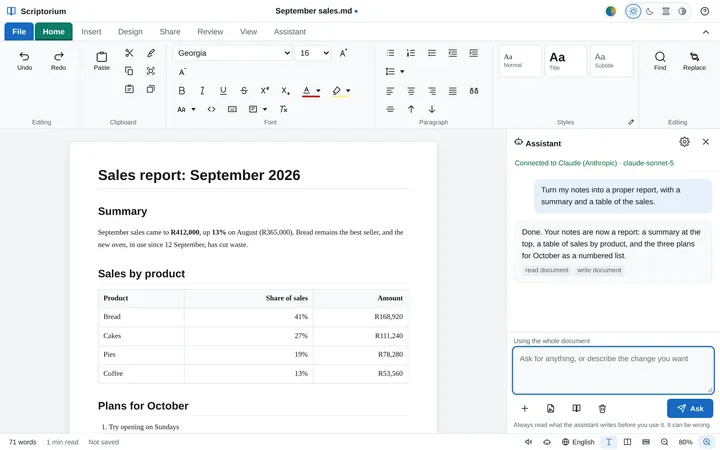
If you want an assistant, it works on the project's files as you do: it reads, searches, writes and changes them, lists each change in the chat with a button to take it back, and asks you every time before it runs a command in the terminal. It follows skills, folders of instructions in the open SKILL.md format: six come with the program (start a project, test and fix, review code, write docs, the Git workflow and making a release), and you can add your own for every project, or keep a project's own in its .coder/skills folder (a .claude/skills folder works too, so a skill made for Claude works here). The conversations are saved in the project's Conversations folder after every answer.
And because Scriptorium Coder is Scriptorium too, the report for the client can sit in the project's docs folder, with tables that add themselves up and charts drawn from them, and the talk about it can be a slide show.